


Easy Install Tips for Lights & Fans from Utilitech Website
Introduction
Upgrading your homes lighting and airflow can make a big difference in comfort and energy efficiency. Whether you're updating an outdated ceiling fan or replacing dim bulbs with energy-saving LEDs, Utilitech offers a wide range of lighting and fan solutions that are easy to install and even easier to order online. With the right tools, guidance, and access to quality products from the Utilitech website, even first-time DIYers can handle installations confidently.
In this guide, well walk you through essential tips for installing lights and fans from the Utilitech website, helping you make the most out of your purchases.
Step 1: Choose the Right Products from Utilitech
Before any installation begins, selecting the right product is key. The Utilitech website makes it simple to browse a wide range of lighting and fan options, complete with product specs, installation guides, and user reviews.
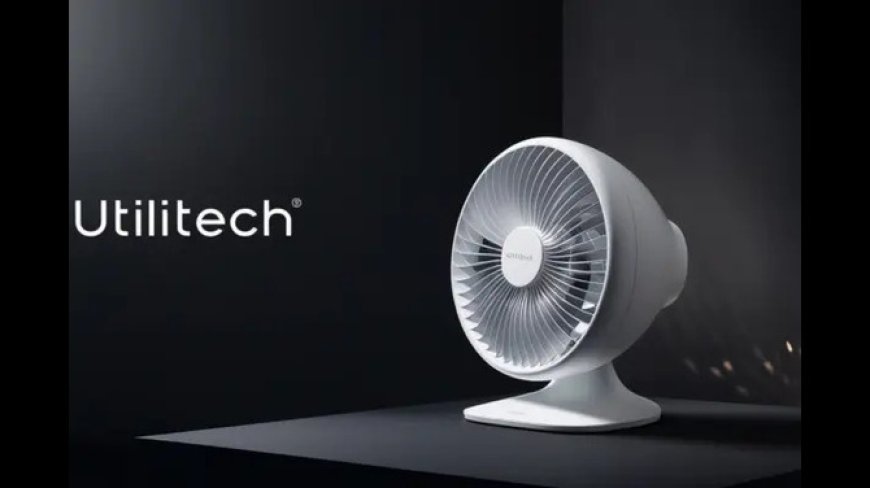
For lighting, youll find energy-efficient LED bulbs, motion-sensing lights, recessed fixtures, and under-cabinet lighting. When it comes to fans, Utilitech offers ceiling fans, portable fans, exhaust fans, and moreeach designed to provide reliable airflow and quiet performance.
Make sure to choose products that suit your room size, ceiling height, and lighting needs. Each product page on the Utilitech site includes installation instructions and compatibility details that help prevent buying mismatches.
Step 2: Prepare the Right Tools and Space
Once your products arrive, gather the necessary tools before beginning. For most fan and lighting installations, youll typically need:
-
A screwdriver (manual or powered)
-
Voltage tester
-
Wire strippers
-
Ladder or step stool
-
Safety gloves and goggles
-
Wire nuts and electrical tape (often included)
Ensure the power is turned off from the main breaker before working with any electrical fixtures. Also, clear your work area to avoid accidents and give yourself room to maneuver.
Step 3: Follow the Included Installation Guide
Utilitech includes detailed, easy-to-follow manuals with each of its products. These guides offer step-by-step visuals, wiring diagrams, and safety precautions. For ceiling fans, youll often begin by attaching the mounting bracket to the electrical box, followed by securing the fan motor and connecting the blades. Lighting installations may involve removing an old fixture, connecting wires using color-coded guides, and mounting the new light in place.
Be sure to refer to your product-specific guide for the correct sequence, especially if the unit includes smart features or remote controls.
Why Choose Utilitech Lighting?
Midway through any home upgrade project, its fair to wonder whether your chosen brand lives up to the promise. In the case of Utilitech Lighting, the answer is a clear yes.
Utilitech is known for its combination of durability, energy efficiency, and ease of use. Their lighting products often come with long-life LED bulbs, minimal heat emission, and lower wattage usage without sacrificing brightness. Many models are Energy Star certified, contributing to lower electricity bills.
Additionally, Utilitech offers smart lighting options compatible with home automation systems. These allow homeowners to control lighting via mobile apps, voice commands, or motion sensors. Installation remains user-friendly, with guides tailored to all experience levels.
Reliability, affordability, and performance make Utilitech a top choice for homeowners looking to improve lighting without hassle.
Step 4: Secure, Test, and Adjust
Once your fixture is installed and wiring is complete, carefully secure all screws and covers. Turn the power back on at the breaker, then test the unit to ensure its working properly.
For fans, test various speed settings and light functions (if included). For lights, check brightness levels and ensure there are no flickers or delays. If your device comes with remote controls or smart features, follow the guide for pairing and calibration.
If something doesnt work as expected, recheck wire connections or consult the Utilitech website for troubleshooting resources or customer support.
Step 5: Keep the Environment in Mind
Utilitech products are designed to be energy-efficient, which means youre already reducing your environmental footprint by using them. For added sustainability, consider recycling old bulbs and fixtures properly. The Utilitech website often provides links to local recycling centers or guides for safe disposal of outdated or broken equipment.
Final Thoughts
Installing lights and fans from the Utilitech website is a straightforward process thanks to their user-friendly designs, detailed guides, and reliable customer support. With a bit of preparation and the right tools, most homeowners can handle basic installations without hiring a professional.
By choosing Utilitech, you're investing in quality lighting and cooling solutions that are not only easy to install but also built to last. Whether its a living room ceiling fan or energy-saving LED bulbs for your kitchen, Utilitech helps you create a more comfortable and efficient homeone fixture at a time.